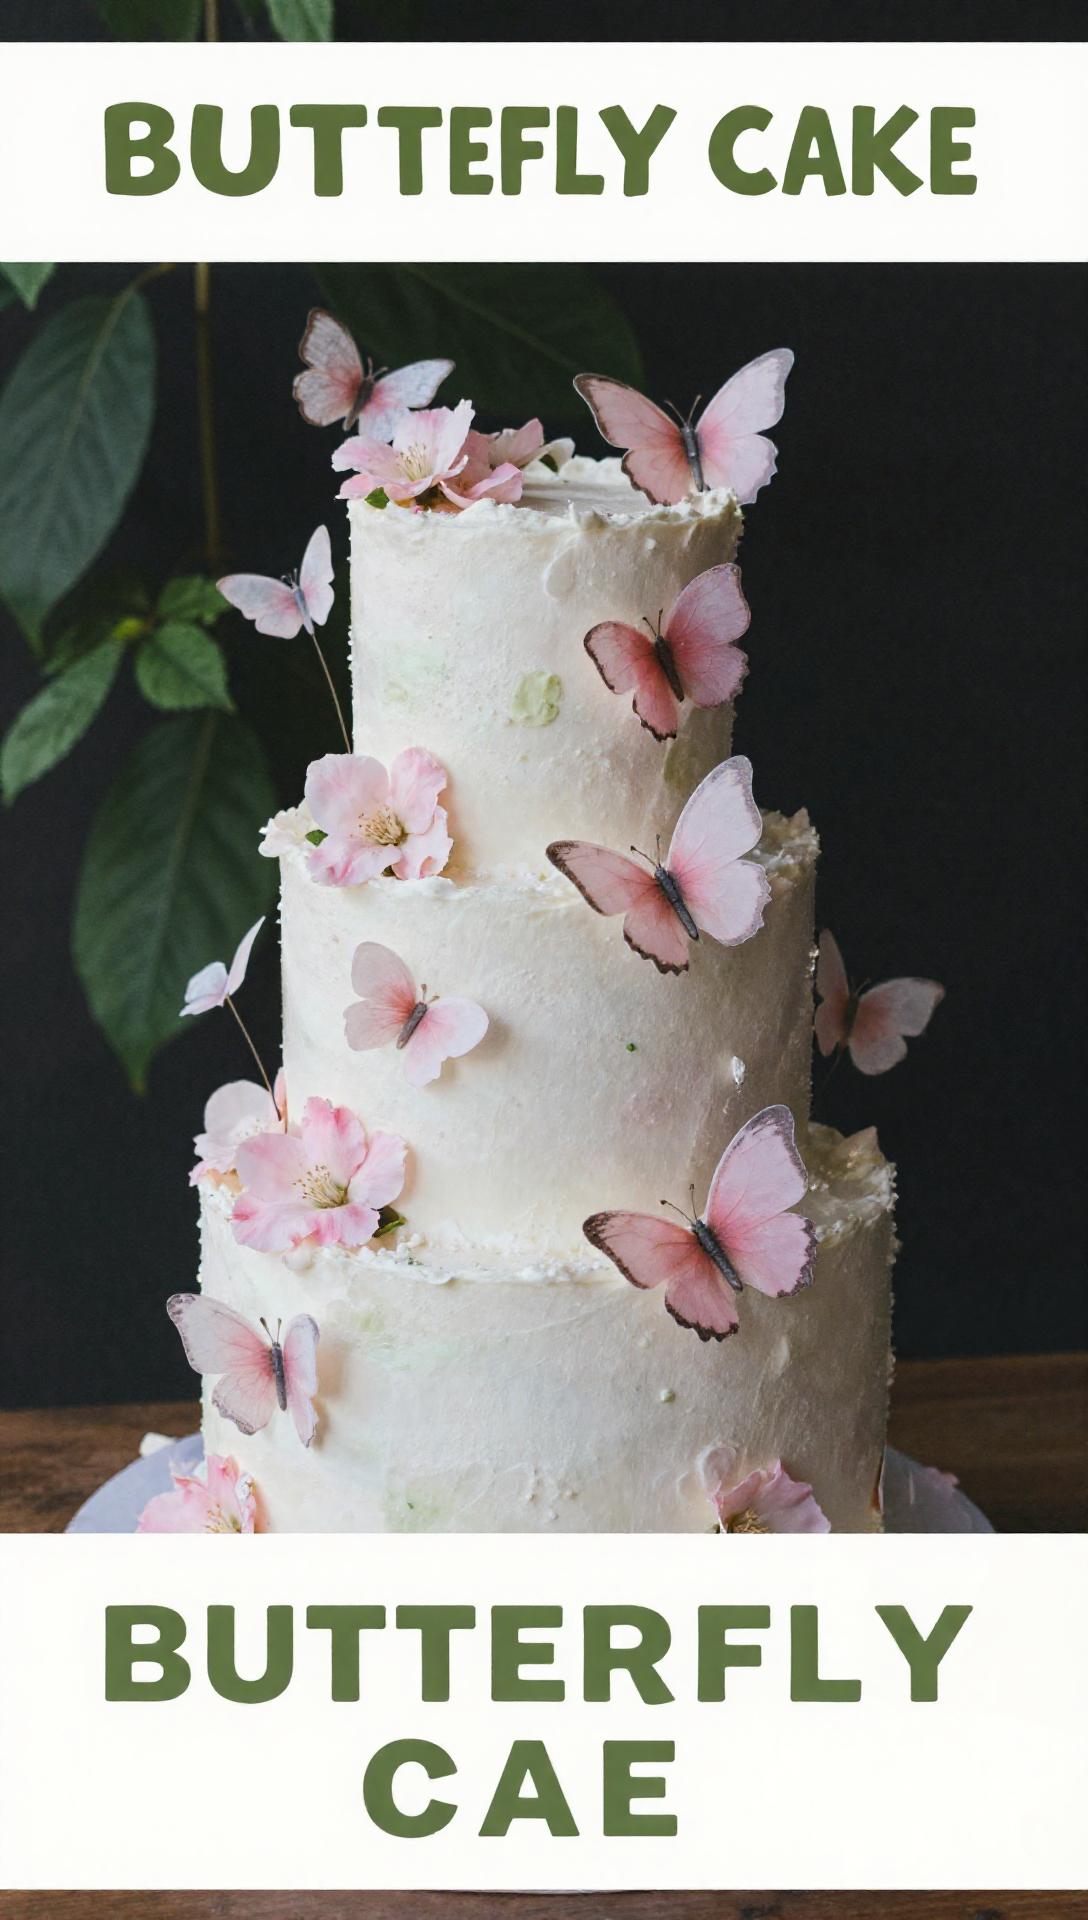
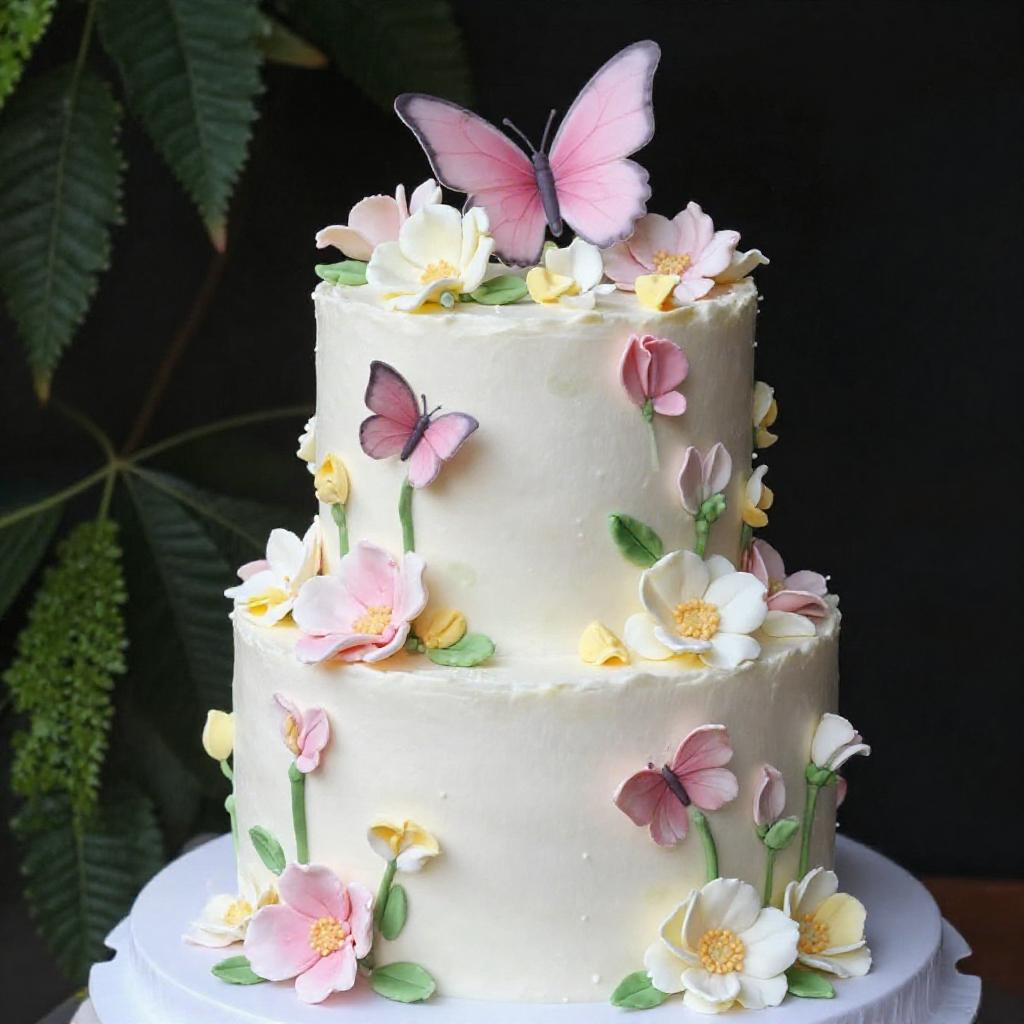
OMG, you guys! Get ready to level up your baking game because I’m about to drop a cake decorating BOMB on you. We’re talking a two-tier cake that’s not just a dessert, but a total SHOWSTOPPER. Think intricate floral designs, layers of deliciousness, and a presentation that’ll make everyone’s jaw drop. Seriously, this isn’t just baking; it’s ART. I’m so obsessed with this cake, and you will be too. Trust me, your next Spring Theme Birthday, Butterfly Party, or any special occasion is about to get a whole lot sweeter – and way more Insta-worthy!
Why You’ll Love This 2-Tier Floral Cake
Okay, so why is this cake recipe a total game-changer? Let me break it down for you:
- Visual Impact: Seriously, the floral design is EVERYTHING. It’s like a garden on a cake! Perfect for a Birthday Cake Butterfly or a Pastel Butterfly Cake.
- Customizable: You can totally tweak the flavors, colors, and floral arrangements to match your vibe. Wanna go full-on fairycore? Go for it with a 2 Tier Fairy Cake!
- Impressive but Doable: I know a two-tier cake sounds intimidating, but I’m going to walk you through it step-by-step. It’s easier than you think, and the results are insane.
- Major Compliment Magnet: Get ready to bask in the glory of everyone telling you how talented you are. This cake is a guaranteed showstopper for any Butterfly Cake Ideas or even just general Butterfly Design Cake inspiration.
- It’s Fun!: Baking should be a blast, and this cake is all about getting creative and expressing yourself.
It is **not intended** to be difficult or overwhelming. This cake is **intended to** be a fun and rewarding experience!
Ingredients You’ll Need
- Two baked cakes (different sizes for tiers; e.g., 6-inch and 8-inch): Choose your favorite flavors! Vanilla, chocolate, lemon – the possibilities are endless.
- Your favorite frosting (enough to fill, crumb coat, and final coat): I’m a buttercream kinda gal, but cream cheese frosting is also divine.
- Simple syrup (for moisture): This is the secret to a super moist cake. Don’t skip it!
- Cake boards (one for each tier, plus a larger one for presentation): Make sure the bottom cake board is sturdy enough to support the weight of both tiers.
- Dowel rods or cake supports (for supporting the top tier): These are crucial for preventing the top tier from sinking into the bottom tier.
- Fondant (for covering the cakes and creating floral decorations): White fondant is the easiest to tint, but you can also buy pre-colored fondant.
- Gel food coloring (for tinting fondant): Gel food coloring is more concentrated than liquid, so you’ll get richer colors.
- Edible glue: This is basically sugar glue that’s safe to eat. It’s perfect for attaching fondant decorations.
- Floral wire (for some floral decorations): This is optional, but it can help you create more realistic and dramatic floral arrangements.
- Piping bags and tips (various sizes for different floral details): A variety of tips will allow you to create different textures and designs.
- Cornstarch or powdered sugar (for dusting work surface): This prevents the fondant from sticking to your work surface.
- Buttercream frosting (for adhering fondant flowers, optional): An alternative to edible glue.
- Luster dust or edible shimmer (optional, for adding shine): This adds a touch of sparkle to your flowers.
- Water or lemon extract (for thinning luster dust, optional): Use this to create a paint-like consistency for applying luster dust.
Step-by-Step Instructions
- Bake and cool cakes completely: Level the tops of the cakes. This is essential for a stable and even cake.
- Make the simple syrup: Brush each cake layer with simple syrup to keep them moist. Seriously, don’t skip this step!
- Prepare the frosting: Divide frosting into bowls if tinting different colors. Get creative with your color palette!
- Assemble the bottom tier: Place the larger cake on its cake board. Spread a layer of frosting, add another cake layer, and repeat until all layers are used. Crumb coat the cake and chill for at least 30 minutes. This helps to set the frosting and prevent crumbs from getting into your final coat.
- Assemble the top tier: Repeat the process for the smaller cake.
- Cover the cakes with fondant: Roll out the fondant and carefully cover each tier separately. Smooth out any wrinkles or air bubbles. A fondant smoother is your best friend here!
- Insert dowel rods into the bottom tier: Cut dowel rods to the height of the bottom tier cake. Insert them evenly spaced to support the top tier. Make sure they’re level with the surface of the cake.
- Stack the cakes: Carefully lift the top tier and place it on top of the bottom tier. Take your time and be gentle!
- Create fondant flowers: Tint fondant with gel food coloring. Use various techniques (e.g., cutters, molds, hand-shaping) to create different types of flowers and leaves. This is where you can really let your creativity shine!
- Attach floral decorations: Use edible glue or buttercream to attach the fondant flowers and leaves to the cake. Arrange them in a pleasing design. Play around with different arrangements until you find one you love.
- Add finishing touches: If desired, brush luster dust onto the flowers for shimmer. Use piping bags and tips to add buttercream details. These little details can make a big difference!
- Transfer to presentation board: Carefully transfer the finished cake onto the larger presentation board. And voila! You have a masterpiece!
Pro Tips for Cake Success
- Chill Out: Chilling your cake layers and crumb-coated cakes is key to easier frosting and decorating.
- Smooth Operator: Invest in a good fondant smoother for flawless fondant application.
- Practice Makes Perfect: Don’t be afraid to practice your floral techniques on a separate piece of fondant before decorating the cake.
- Edible Glue is Your Friend: It’s the best way to keep those fondant flowers in place.
- Plan Ahead: Break the process into smaller steps over a few days to avoid feeling overwhelmed.
Common Mistakes to Avoid
- Uneven Cake Layers: This can lead to a wobbly cake. Level your cake layers before frosting.
- Too Much Fondant: This can make the cake heavy and the fondant difficult to work with.
- Air Bubbles in Fondant: These can ruin the smooth finish. Use a fondant smoother to gently push them out.
- Not Enough Support: Skimping on dowel rods can cause the top tier to sink.
- Rushing the Process: Take your time and enjoy the process!
Variations to Make it Your Own
- Flavor Explosion: Experiment with different cake and frosting flavors.
- Color Palette Swap: Choose colors that match your theme or personal style.
- Floral Frenzy: Try different types of flowers and arrangements.
- Add Some Sparkle: Use edible glitter or sprinkles for extra pizzazz.
- Theme It Up: Adapt the design to fit a specific theme, like a Butterfly Design Cake or Birthday Cake Butterfly.
How to Store Your Masterpiece
To keep your cake fresh and delicious:
- Refrigerate: Store the cake in the refrigerator, covered, to prevent it from drying out.
- Short-Term Storage: For a day or two, a cake dome or airtight container will do the trick.
- Long-Term Storage: For longer storage, you can freeze the cake. Wrap it tightly in plastic wrap and then foil.
- Thawing: Thaw the cake in the refrigerator overnight before serving.
Statements **regarding dietary supplements have not been evaluated by the** Food and Drug Administration, and **are not intended to diagnose**, **treat**, **cure**, **or prevent any disease or health condition**. These **statements regarding dietary supplements have not been evaluated by the** FDA. Dietary **supplements have not been evaluated by the** FDA and **are not intended to diagnose treat cure or prevent any disease**.
Frequently Asked Questions (FAQ)
- Can I make this cake ahead of time? Absolutely! You can bake the cake layers and make the frosting a day or two in advance. Just store them separately until you’re ready to assemble.
- How do I transport a two-tier cake? Very carefully! Use a sturdy cake box and place a non-slip mat underneath the cake board to prevent it from sliding around.
- Can I use store-bought fondant? Yes, you can! Just make sure to knead it well before using it.
- What if my fondant is too sticky? Dust your work surface with cornstarch or powdered sugar.
- Is this cake **easy to** make?** With these instructions it is **intended to** be **easy to** make, but requires patience!
Serving Suggestions
This cake is a showstopper all on its own, but here are a few ideas to take it to the next level:
- Pair it with fresh berries: Strawberries, raspberries, or blueberries add a pop of color and flavor.
- Serve it with a scoop of ice cream: Vanilla or strawberry ice cream is a classic pairing.
- Offer a selection of teas or coffees: Complement the cake with a warm beverage.
- Add a dessert table display: Create a beautiful dessert table with other treats and decorations that match the cake’s theme.
So there you have it! The secret to creating a show-stopping two-tier cake with intricate floral designs. Go forth and bake, my friends, and don’t forget to tag me in your creations! #DorasDesserts #CakeGoals #FloralCake #BakingQueen

What's the Secret to Creating a Show-Stopping 2-Tier Cake with Intricate Floral Designs?
Ingredients
Method
- Bake and cool cakes completely. Level the tops of the cakes.
- Make the simple syrup. Brush each cake layer with simple syrup to keep them moist.
- Prepare the frosting. Divide frosting into bowls if tinting different colors.
- Assemble the bottom tier: Place the larger cake on its cake board. Spread a layer of frosting, add another cake layer, and repeat until all layers are used. Crumb coat the cake and chill for at least 30 minutes.
- Assemble the top tier: Repeat the process for the smaller cake.
- Cover the cakes with fondant: Roll out the fondant and carefully cover each tier separately. Smooth out any wrinkles or air bubbles.
- Insert dowel rods into the bottom tier: Cut dowel rods to the height of the bottom tier cake. Insert them evenly spaced to support the top tier.
- Stack the cakes: Carefully lift the top tier and place it on top of the bottom tier.
- Create fondant flowers: Tint fondant with gel food coloring. Use various techniques (e.g., cutters, molds, hand-shaping) to create different types of flowers and leaves.
- Attach floral decorations: Use edible glue or buttercream to attach the fondant flowers and leaves to the cake. Arrange them in a pleasing design.
- Add finishing touches: If desired, brush luster dust onto the flowers for shimmer. Use piping bags and tips to add buttercream details.
- Transfer to presentation board: Carefully transfer the finished cake onto the larger presentation board.
Notes