How to Create a Whimsical Garden Cake: Mastering Cake Decorating Techniques for Spring
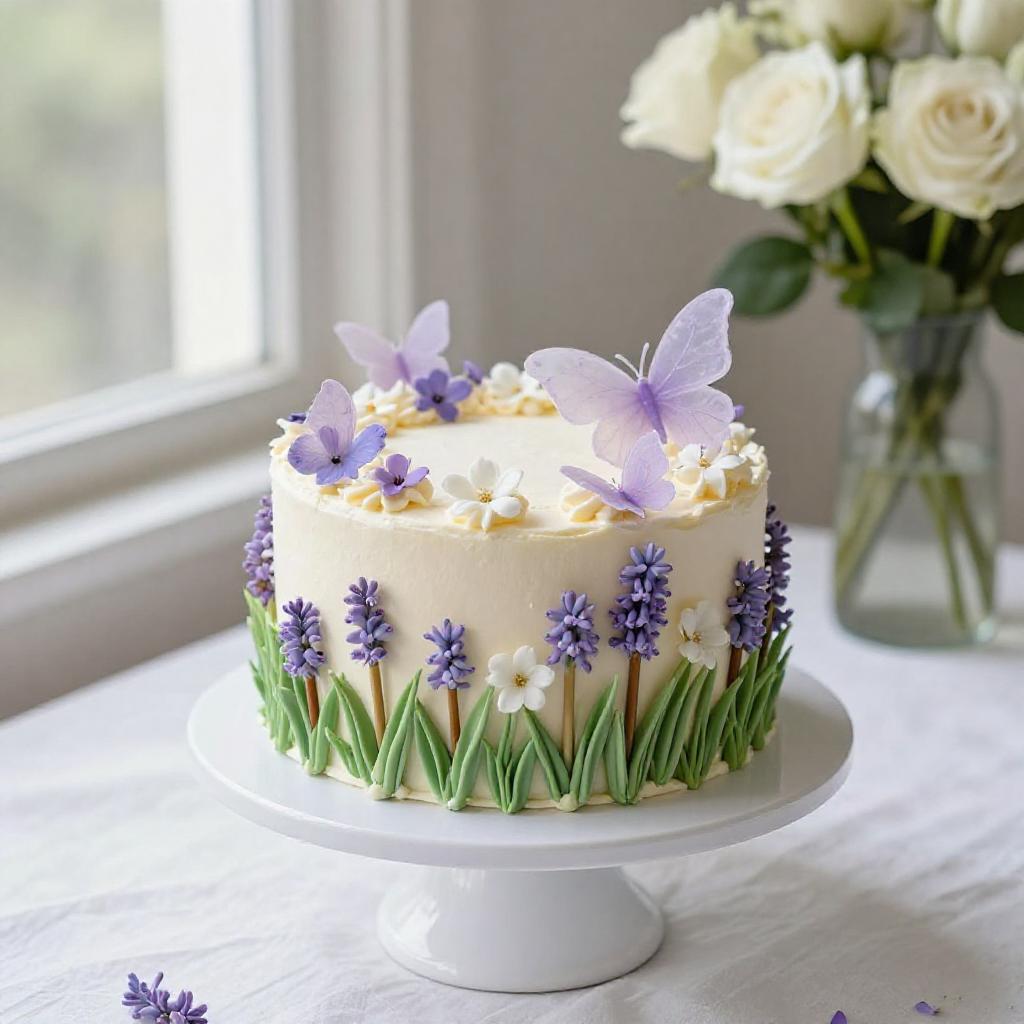
Spring is here, and what better way to celebrate than with a whimsical garden cake? This guide will take you through the steps to create a stunning cake that looks like it came straight out of a fairy tale. I’ll share my streamlined techniques for achieving a professional finish, even if you’re a beginner. Let’s elevate your cake decorating game and create something truly magical.
Why You’ll Love This Whimsical Garden Cake
This cake isn’t just delicious; it’s a showstopper. Here’s why you’ll absolutely adore creating it:
- Visually Stunning: The combination of buttercream, fondant flowers, and edible glitter creates a breathtaking effect.
- Customizable: Easily adapt the colors and decorations to match your theme or personal preferences.
- Beginner-Friendly: While it looks complex, the techniques are simple and easy to master.
- Perfect for Any Occasion: Ideal for birthdays, baby showers, spring celebrations, or just because.
- Impressive Presentation: Your guests will be amazed by your cake decorating skills.
Ingredients for Your Garden Cake Masterpiece
- Prepared cake layers (vanilla or your choice)
- Buttercream frosting (various colors: green, pink, purple, yellow, white)
- Fondant (various colors for flowers and decorations)
- Edible glitter
- Edible glue
- Piping bags and tips (various sizes)
- Lollipop sticks or floral wire (for flower support)
- Sprinkles (optional)
- Edible food coloring (if needed to tint frosting or fondant)
- Gum paste (optional, for more intricate flowers)
Step-by-Step Guide to Whimsical Garden Cake Perfection
Follow these steps to bring your garden cake vision to life:
- Prepare the Cake Layers: Level and stack the cake layers with buttercream frosting between each layer. This ensures a stable and even base for your decorations.
- Crumb Coat: Apply a crumb coat of buttercream frosting to the entire cake and chill for 30 minutes. This seals in any loose crumbs and creates a smooth surface for the final frosting layer.
- Final Frosting Layer: Apply a final layer of buttercream frosting to create a smooth surface. Green frosting works well for a garden base, setting the scene for your floral decorations.
- Craft Fondant Flowers: Roll out fondant and use flower cutters or molds to create various flower shapes. Attach to lollipop sticks or floral wire with edible glue and let dry. Consider using gum paste for more intricate flowers.
- Pipe Buttercream Details: Use different piping tips to create grass, vines, and other garden elements directly onto the cake. This adds depth and texture to your design.
- Attach Fondant Flowers: Carefully insert the lollipop sticks/floral wire with the fondant flowers into the cake. Arrange them artfully to create a natural garden look.
- Add Edible Glitter: Lightly dust the cake with edible glitter for a magical touch. A little sparkle goes a long way!
- Optional Sprinkles: Add sprinkles or other edible decorations as desired. This is your chance to personalize the cake and add extra flair. A few well-placed sprinkles can enhance the overall effect.
- Chill and Set: Chill the cake for at least 30 minutes before serving to allow the decorations to set. This prevents any smudging or collapsing.
Pro Tips for a Flawless Finish
These tips will help you achieve a professional-looking cake with minimal effort:
- Chill Your Cake Layers: Cold cake layers are easier to work with and less likely to crumble. Wrap your cake layers in plastic wrap and refrigerate for at least an hour before frosting.
- Use a Turntable: A cake turntable makes frosting and decorating much easier and more precise. It allows you to rotate the cake smoothly while applying frosting or adding details.
- Invest in Quality Tools: A good set of piping tips and a reliable icing spatula set are essential for creating intricate designs. Look for a spatula set that includes various sizes and shapes to handle different decorating tasks.
- Practice Your Piping: Before decorating the cake, practice your piping techniques on a piece of parchment paper. This helps you get a feel for the pressure and movement required for different designs.
- Use Edible Glue Sparingly: A small amount of edible glue is all you need to attach fondant decorations. Too much glue can make the fondant soggy and cause it to slide off the cake.
- Work in a Cool Environment: Buttercream frosting can melt easily in a warm environment. Work in a cool room or chill your frosting and cake frequently to prevent melting.
- Color Coordination: Choose a cohesive color palette for your buttercream and fondant. This creates a harmonious and visually appealing cake.
Common Mistakes to Avoid
Here are some common pitfalls to watch out for:
- Overmixing Buttercream: Overmixing can incorporate too much air into the buttercream, making it difficult to work with. Mix until just combined and smooth.
- Using Too Much Food Coloring: Start with a small amount of food coloring and gradually add more until you achieve the desired shade. Too much food coloring can alter the taste and texture of the frosting or fondant.
- Rushing the Process: Cake decorating takes time and patience. Don’t rush the process, and allow yourself plenty of time to complete each step.
- Ignoring the Crumb Coat: The crumb coat is essential for creating a smooth and professional finish. Don’t skip this step!
- Not Leveling the Cake Layers: Uneven cake layers can make it difficult to stack and frost the cake. Use a cake leveler or a serrated knife to level the layers before assembling the cake.
Variations to Make It Your Own
Feel free to experiment with these variations to personalize your whimsical garden cake:
- Different Cake Flavors: Try lemon, chocolate, or strawberry cake for a different flavor profile.
- Alternative Frosting: Use cream cheese frosting, ganache, or whipped cream instead of buttercream.
- Edible Flowers: Incorporate fresh, edible flowers into your garden design for a natural touch.
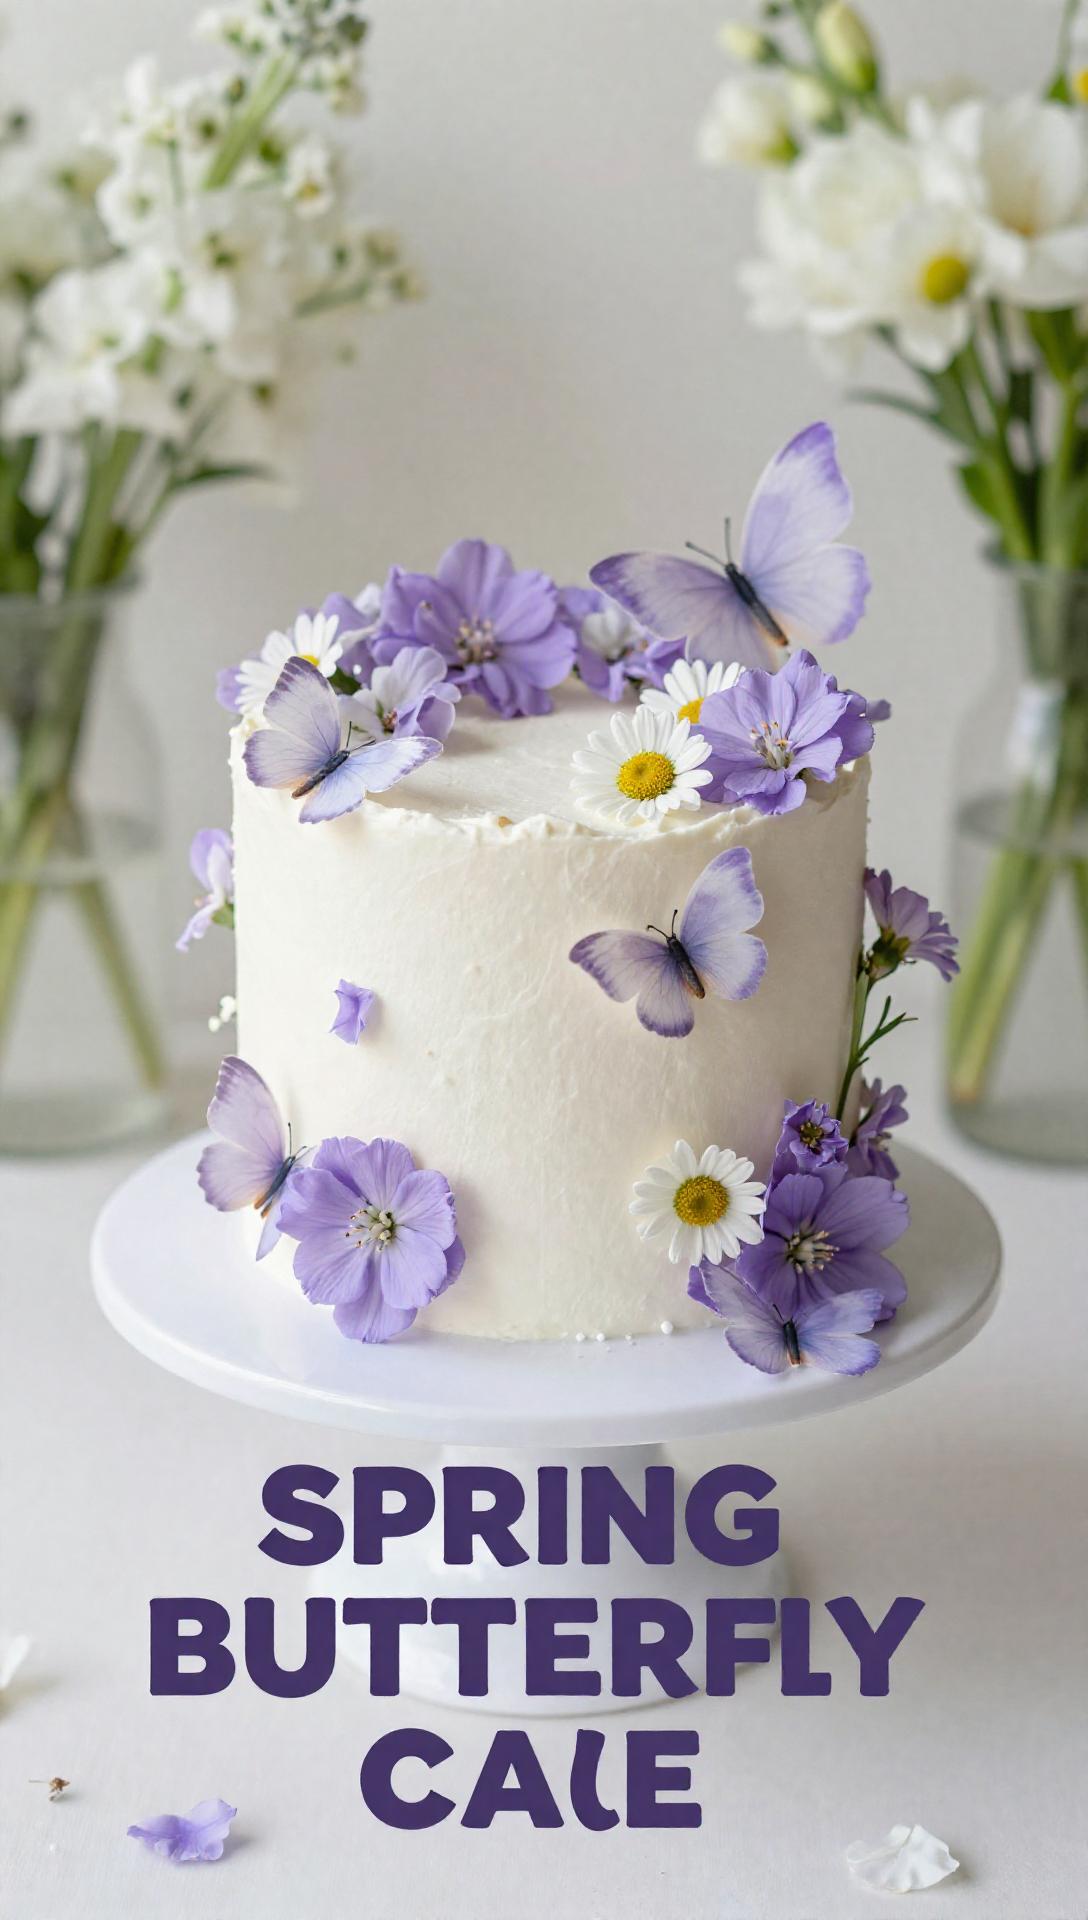
- Birthday Cake Butterfly: Add butterfly decorations for a whimsical touch. A Butterfly Garden Cake is always a hit! Consider a Butterfly Cake or a Butterfly Shape Cake Design.
- Different Themes: Adapt the decorations to suit a different theme, such as a fairy garden or a woodland forest.
- Add a Water Feature: Use blue-tinted piping gel to create a pond or stream on your cake.
- Fairy First Birthday Cake: Make a smaller version with small cupcakes for a Fairy First Birthday Cake.
Storage Instructions
To keep your cake fresh and delicious:
- Refrigerate: Store the cake in the refrigerator to prevent the buttercream from melting.
- Cover: Cover the cake with a cake dome or plastic wrap to prevent it from drying out.
- Serve at Room Temperature: Allow the cake to come to room temperature for about 30 minutes before serving for the best flavor and texture.
Frequently Asked Questions (FAQ)
Here are some common questions about making a whimsical garden cake:
- Can I make the cake ahead of time? Absolutely! You can bake the cake layers and make the buttercream frosting a day or two in advance. Store them separately in the refrigerator until you’re ready to assemble the cake.
- How long does it take to decorate this cake? Decorating can take anywhere from 1-3 hours, depending on the complexity of your design. Plan accordingly and allow yourself plenty of time.
- Can I use store-bought frosting? Yes, you can use store-bought frosting if you’re short on time. However, homemade buttercream frosting will give you the best flavor and texture.
- What if my fondant is too sticky? Dust your work surface with powdered sugar to prevent the fondant from sticking.
- How do I prevent my buttercream from melting? Work in a cool environment and chill your frosting frequently. You can also add a tablespoon of cornstarch to the buttercream to help stabilize it.
Serving Suggestions
Here are some ideas for serving your whimsical garden cake:
- Pair with Tea or Coffee: A slice of this cake is the perfect accompaniment to a cup of tea or coffee.
- Add Fresh Berries: Serve with a side of fresh berries for a burst of flavor and color.
- Create a Dessert Table: Display the cake on a dessert table alongside other sweets and treats.
- Offer with Ice Cream: A scoop of vanilla ice cream complements the cake beautifully.
- Garnish with Mint: Add a sprig of fresh mint for a refreshing touch.
Creating a Spring Cake or a Buttercream Cake Decorating masterpiece is easier than you think! You can easily put icing and icing on your homemade cakes. Remember, the key is to have cakes comfortable to handle and decorate. A comfortable wooden handle on your cake icing spatula will ensure that doesn’t tire your grip. It’s great for icing and will make the process much more enjoyable. The package include a variety of tools to help you include cake decorations, so set it up and get creative!
This cake icing guide is designed to make you feel like a pro. The right icing spatula, especially as part of an icing spatula set, is essential. Choose one with a wooden handle for a better grip. A good cake icing spatula set will include cake tools that make the job is easier. Using a cake icing spatula makes it easier to smooth the frosting and to put icing on your homemade cakes. The comfortable wooden handle means that doesn’t tire your grip, so it’s great for icing detailed designs. A quality spatula set is a worthwhile investment. Don’t forget package include several tools to help, so set it all up before you begin! A proper spatula set with a wooden handle makes it easier to put icing on your homemade cakes. You’ll find that a comfortable wooden handle on your cake icing spatula means that doesn’t tire your grip, and it’s great for icing. Make sure your package include the right sizes for your needs.

How to Create a Whimsical Garden Cake: Mastering Cake Decorating Techniques for Spring C
Ingredients
Method
- Level and stack cake layers with buttercream.
- Apply crumb coat and chill for 30 minutes.
- Apply final buttercream layer (green for garden base).
- Prepare fondant flowers and attach to sticks/wire.
- Pipe buttercream details onto the cake.
- Attach fondant flowers to the cake.
- Add edible glitter.
- Optional: Add sprinkles.
- Chill for 30 minutes before serving.
Notes