OMG! The Easiest, Most Delicious Peanut-Free Vanilla Cake EVER!
Hey besties! Dora here, and I’m literally buzzing with excitement to share this game-changing recipe with you. If you’ve ever felt the struggle of finding a cake that’s both ridiculously yummy AND safe for those with nut allergies, then buckle up, because this is about to become your new go-to. This Easy Peanut-Free Vanilla Cake is not just a recipe; it’s a celebration in every slice! It’s perfect for birthdays, holidays, or just because you deserve a little sweetness in your life. And trust me, once you taste it, you’ll be obsessed! I’m so confident your family will love it!
Why You’ll Love This Peanut-Free Vanilla Cake (Spoiler: It’s the BOMB!)
Okay, so why is this cake so special? Let me break it down for you:
- Totally Peanut-Free: Obviously, this is the biggest win. No need to stress about allergens; everyone can enjoy a slice!
- Insanely Easy: Seriously, even if you’re a total newbie in the kitchen, you can nail this recipe.
- Ultra-Moist and Fluffy: We’re talking melt-in-your-mouth goodness. The texture is EVERYTHING.
- Versatile AF: Dress it up with your favorite frosting and sprinkles, or keep it simple and classic. It’s your canvas!
- Kid-Approved: Trust me; the kiddos will be begging for seconds. It’s the cake that always disappears fast!
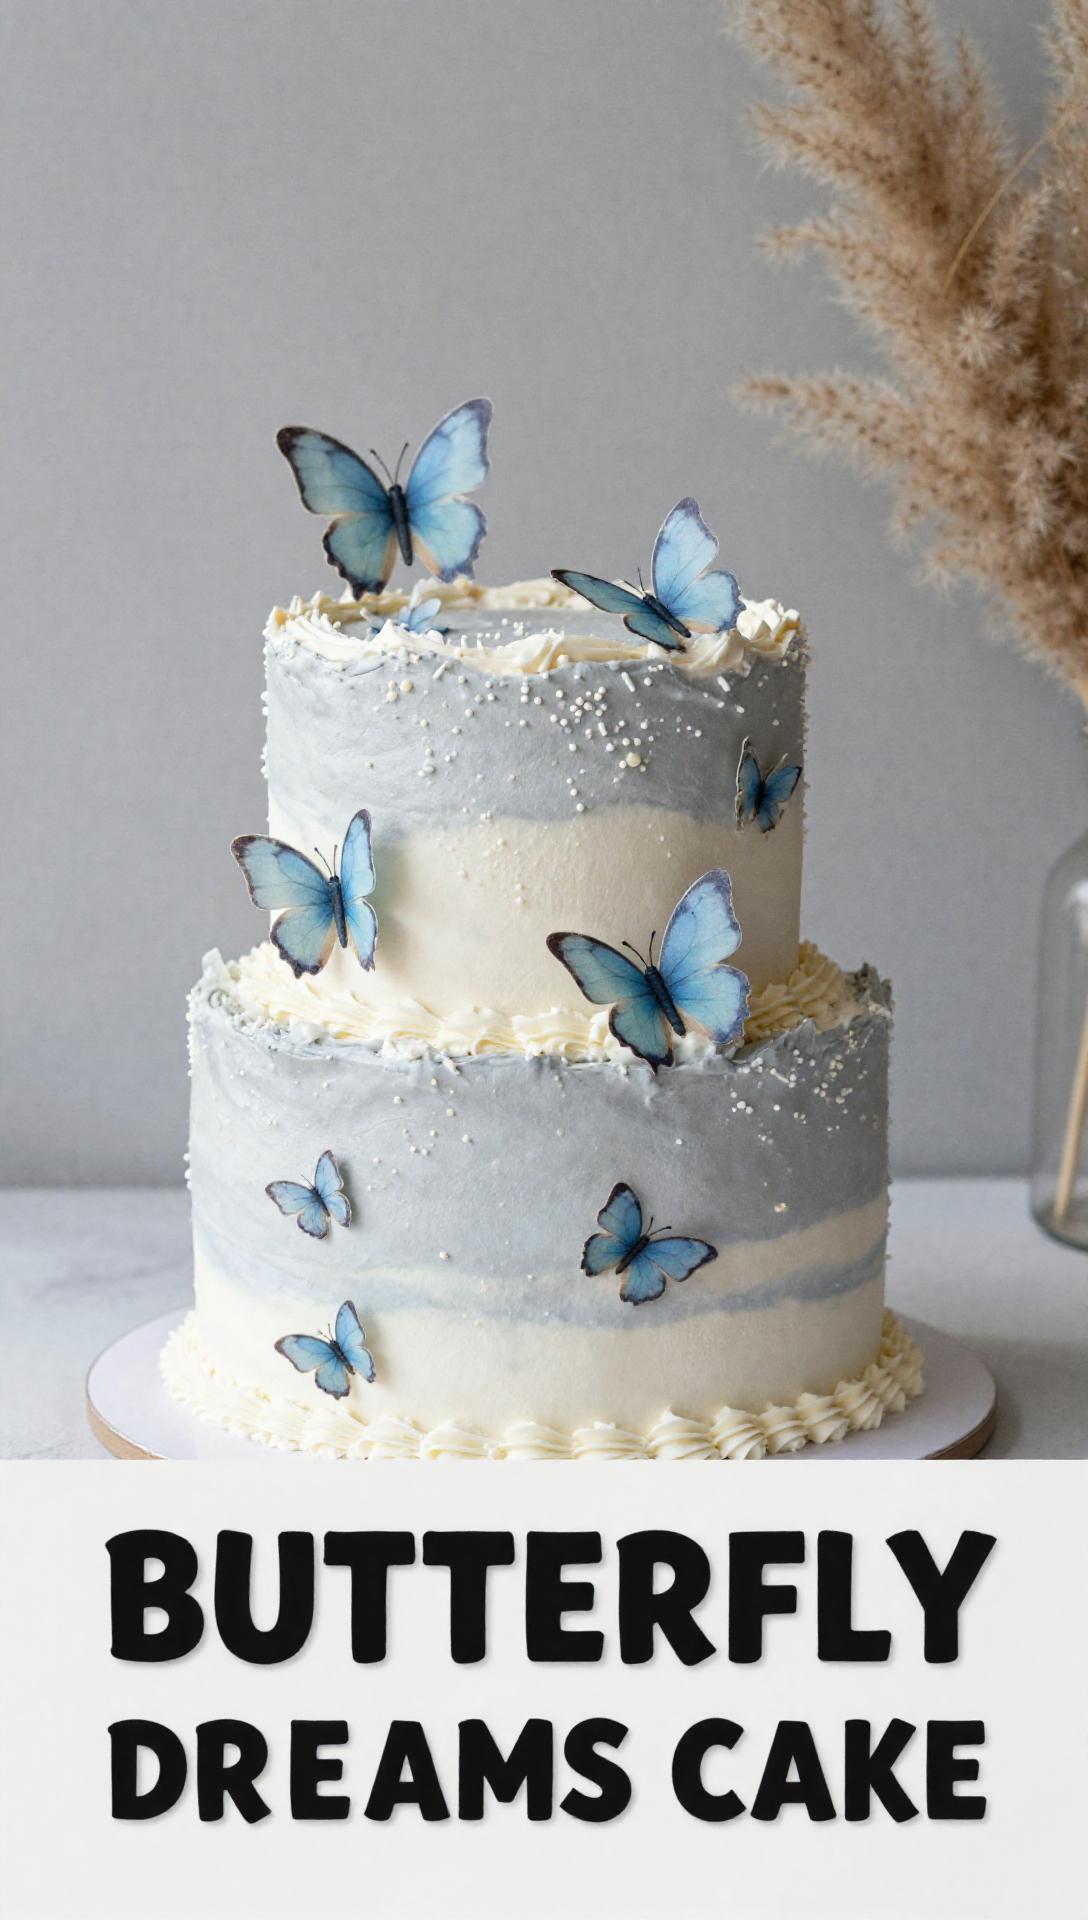
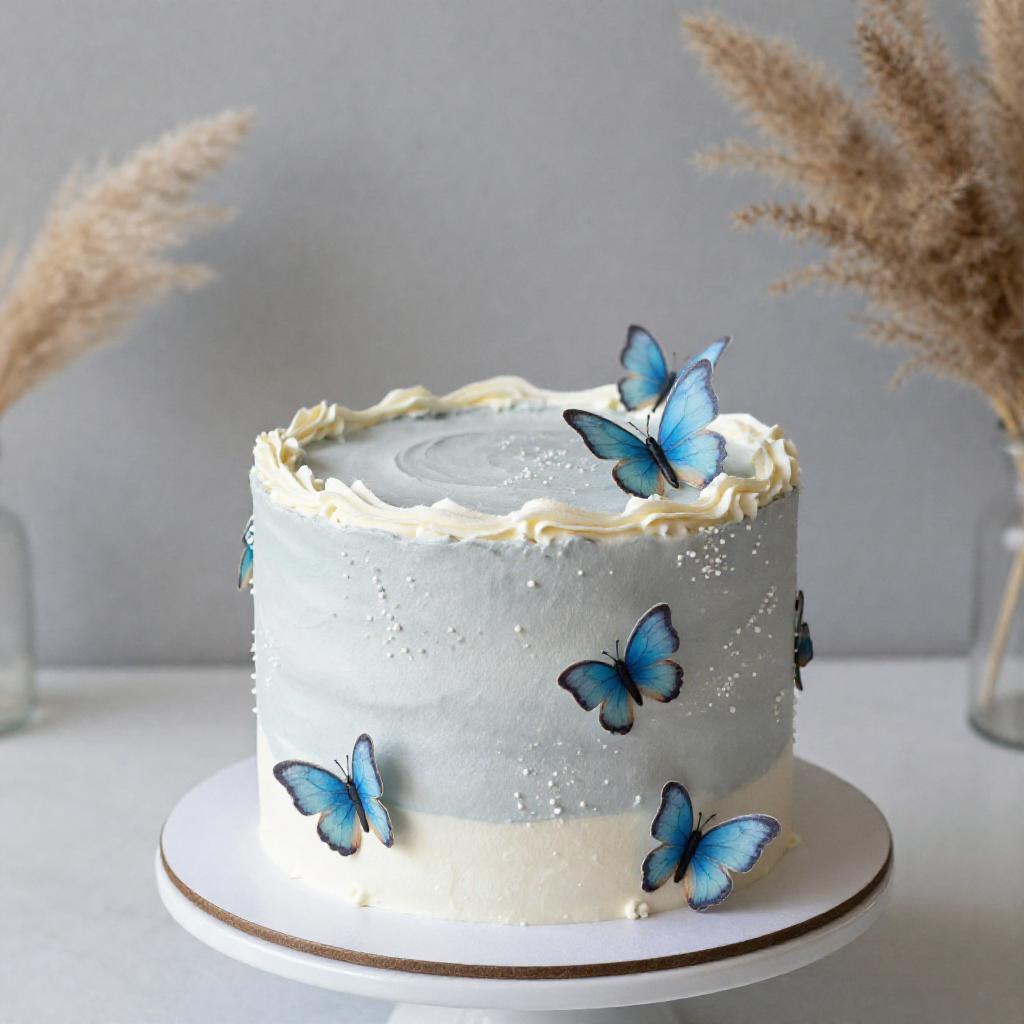
This recipe is perfect for those looking for small birthday cakes or even cupcake cake options. You can easily adapt it for a gateau spiderman theme or create stunning butterfly birthday cakes. Imagine serving this at a party with blue birthday cakes decorations – it’s a total vibe!
Ingredients: The Magic Makers
Alright, let’s gather our ingredients. Make sure everything you use is certified peanut-free to avoid any cross-contamination. Safety first, babes!
- 1 1/2 cups all-purpose flour
- 1 1/2 cups granulated sugar
- 3 1/2 teaspoons baking powder
- 1 teaspoon salt
- 1/2 cup (1 stick) unsalted butter, softened
- 3/4 cup milk (dairy or safe alternative)
- 2 large eggs
- 1 teaspoon vanilla extract
- Peanut-free frosting of your choice
- Peanut-free sprinkles (optional)
Let’s Get Baking: Step-by-Step Instructions
Okay, it’s time to turn up the heat and get this cake in the oven! Follow these steps, and you’ll be golden.
- Preheat: Preheat oven to 350°F (175°C). Grease and flour a 9×13 inch baking pan. This is crucial to prevent sticking!
- Dry Ingredients: In a large bowl, whisk together the flour, sugar, baking powder, and salt. Make sure it’s well combined.
- Wet Ingredients: Add the softened butter, milk, eggs, and vanilla extract to the dry ingredients.
- Mix It Up: Beat with an electric mixer on low speed until just combined, then increase speed to medium and beat for 2 minutes. Don’t overmix!
- Pour and Spread: Pour batter into the prepared pan and spread evenly.
- Bake Time: Bake for 30-35 minutes, or until a wooden skewer inserted into the center comes out clean.
- Cool Down: Let the cake cool in the pan for 10 minutes before inverting it onto a wire rack to cool completely. Patience is key!
- Frosting Time: Once the cake is completely cool, frost with your favorite peanut-free frosting.
- Sprinkle Magic: Add peanut-free sprinkles, if desired. Because sprinkles make everything better!
- Slice and Serve: Enjoy!
Pro Tips for the Perfect Peanut-Free Vanilla Cake
Want to take your cake game to the next level? Here are some insider tips that will make you a baking superstar:
- Room Temperature is Key: Make sure your butter and eggs are at room temperature for the best texture.
- Don’t Overmix: Overmixing can lead to a tough cake. Mix until just combined.
- Even Baking: Use oven thermometer for even baking.
- Cool Completely: Always let the cake cool completely before frosting to prevent melting.
- Quality Vanilla: Invest in a good quality vanilla extract for the best flavor. It’s the secret ingredient!
Vintage birthday cakes are making a comeback, and this recipe is perfect for creating that nostalgic feel. You can even get creative with funny birthday cakes by adding playful decorations.
Common Mistakes (And How to Avoid Them!)
We all make mistakes, but with these tips, you can avoid the most common cake fails:
- Dry Cake: This usually happens when you overbake the cake. Keep a close eye on it!
- Sinking Center: This can be caused by too much liquid or not enough leavening. Follow the recipe closely.
- Uneven Baking: Make sure your oven is properly preheated, and the cake is in the center of the oven.
- Stickiness: Always grease and flour your pan thoroughly.
- Dense Texture: Avoid overmixing the batter.
Variations: Let’s Get Creative!
This recipe is a blank canvas! Here are some fun variations to try:
- Chocolate Chip: Add 1 cup of peanut-free chocolate chips to the batter.
- Lemon Zest: Add the zest of one lemon for a bright, citrusy flavor.
- Almond Extract: Substitute 1/2 teaspoon of vanilla extract with almond extract.
- Sprinkle Explosion: Mix sprinkles into the batter for a funfetti effect.
- Layer Cake: Divide the batter into two round pans for a stunning layer cake.
I’m telling you, the cake is seriously versatile. I’m sure that her daughter would love a special version just for her birthday!
Storage: Keeping Your Cake Fresh
Want to keep your cake fresh and delicious? Here’s how:
- Room Temperature: Store unfrosted cake in an airtight container at room temperature for up to 3 days.
- Refrigerator: Store frosted cake in an airtight container in the refrigerator for up to 5 days.
- Freezer: Wrap the cake tightly in plastic wrap and then foil. Freeze for up to 2 months. Thaw overnight in the refrigerator.
FAQ: Your Burning Cake Questions Answered!
Got questions? I’ve got answers!
- Can I use a different type of flour? Yes, you can use gluten-free flour blend, but the texture may be slightly different.
- Can I use a different type of milk? Absolutely! Almond milk, soy milk, or oat milk all work great.
- Can I reduce the sugar? Yes, you can reduce the sugar by up to 1/4 cup without significantly affecting the texture.
- Can I make this cake in a different pan? Yes, you can use a different size pan, but you may need to adjust the baking time.
- Is it safe for those with severe nut allergies? Always double-check that all your ingredients are certified peanut-free to avoid cross-contamination.
Serving Suggestions: Let’s Get Fancy!
Ready to serve up this masterpiece? Here are some ideas:
- Classic Slice: Serve a simple slice with a dollop of whipped cream and fresh berries.
- Ice Cream Sundae: Top a slice of cake with your favorite ice cream, hot fudge, and sprinkles.
- Cake Parfait: Layer crumbled cake with yogurt, granola, and fruit for a delicious parfait.
- Tea Party Treat: Serve small slices of cake with a cup of tea for a sophisticated treat.
- Birthday Bash: Decorate the cake with candles and sing “Happy Birthday!”
I’m so excited for you to try this recipe! It’s a game-changer for anyone with nut allergies, and it’s so easy to make. I won’t lie, it’s my favorite cake. He’s always asking for it! If you make this cake, be sure to tag me in your photos and stories! I can’t wait to see your creations! Remember, this comment is just the beginning of your baking journey – click here to view all the delicious possibilities!
It’s important to remember that this comment is about creating joy and safe treats for everyone. Click here to view more peanut-free recipes! I feel like this comment is important, so I’m going to end with a call to action. This comment is hidden no more! Click here to view and bake!

Daughter Peanut Cake Allergy Reddit
Ingredients
Method
- Preheat oven to 350°F (175°C). Grease and flour a 9x13 inch baking pan.
- Whisk together flour, sugar, baking powder, and salt in a large bowl.
- Add butter, milk, eggs, and vanilla extract to the dry ingredients.
- Beat with an electric mixer on low until combined, then medium for 2 minutes.
- Pour batter into the prepared pan and spread evenly.
- Bake for 30-35 minutes, or until a wooden skewer comes out clean.
- Cool in the pan for 10 minutes, then invert onto a wire rack to cool completely.
- Frost with peanut-free frosting once cool.
- Add peanut-free sprinkles, if desired.
- Slice and serve. Enjoy!
Notes